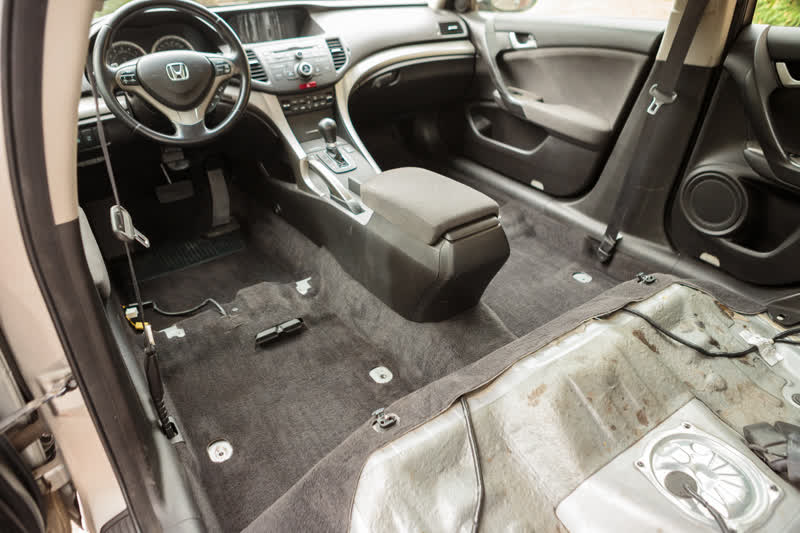
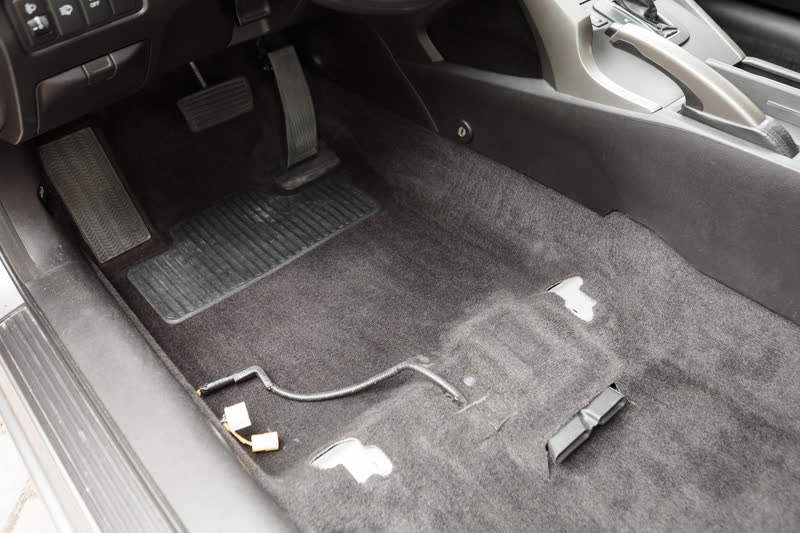
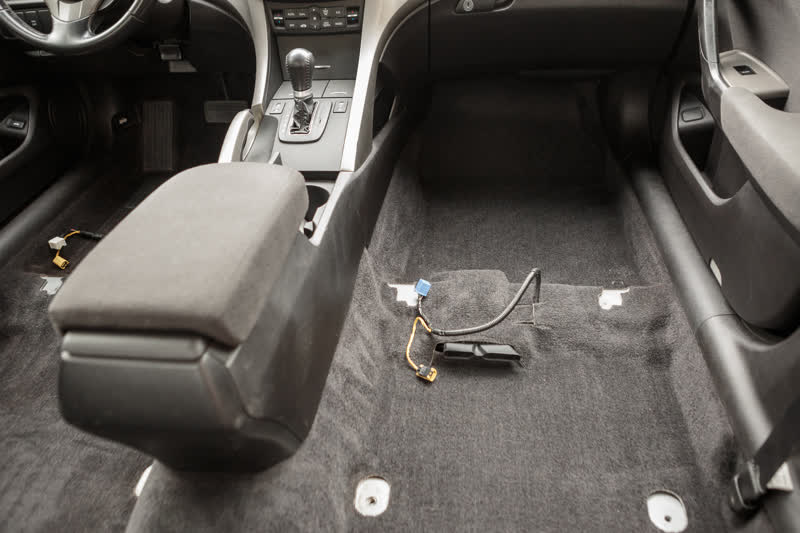
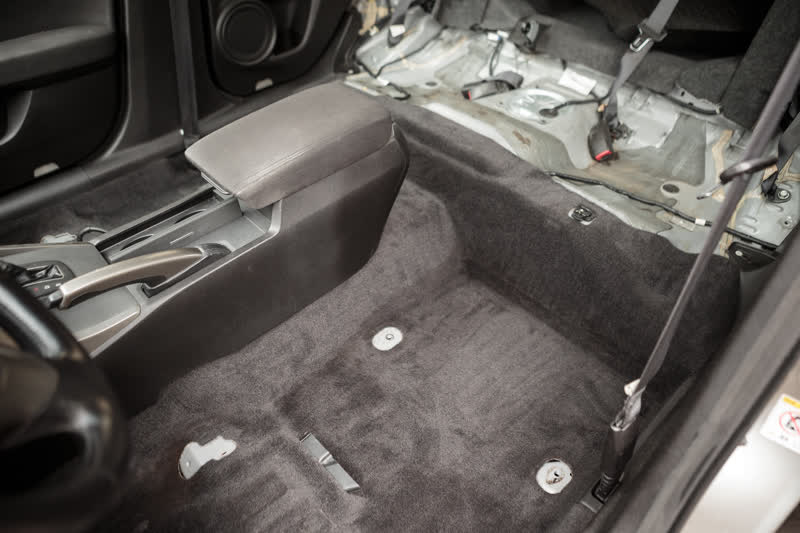
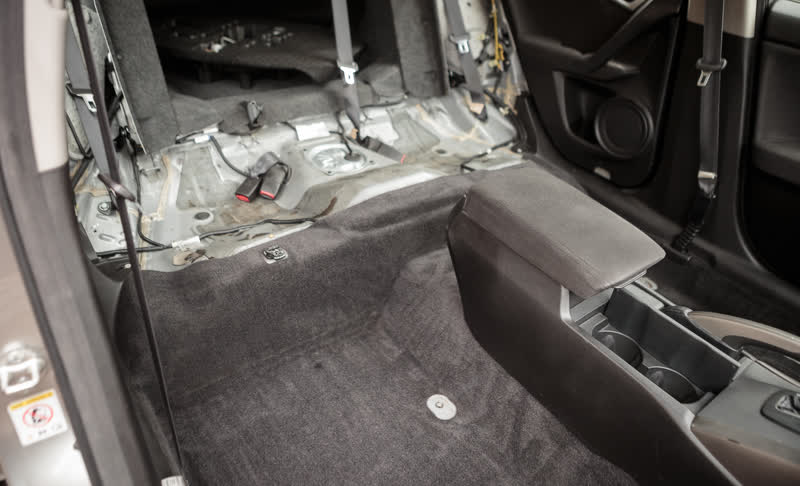
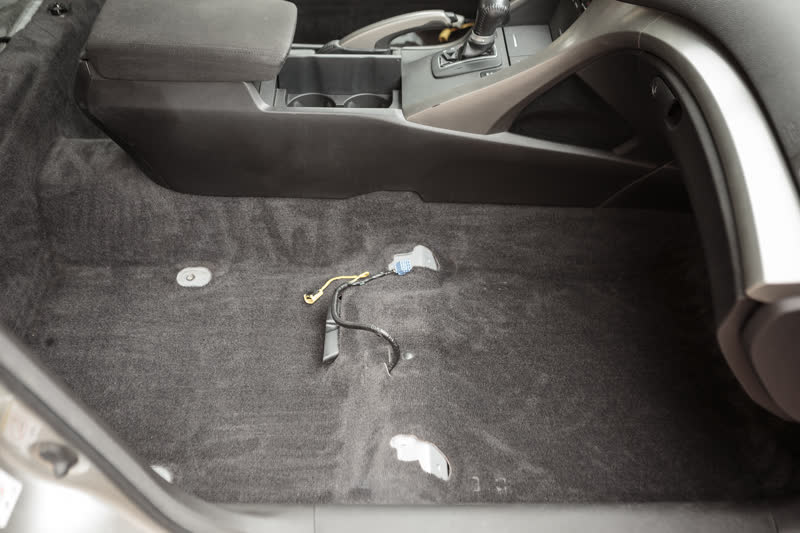
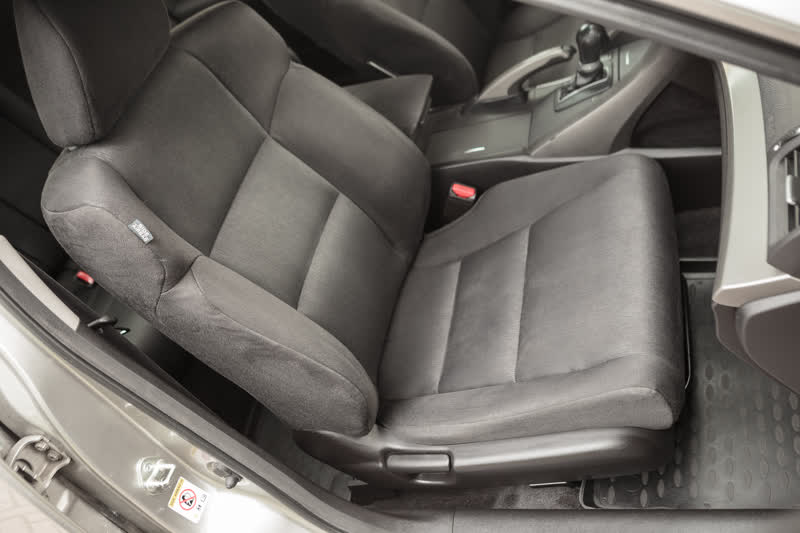
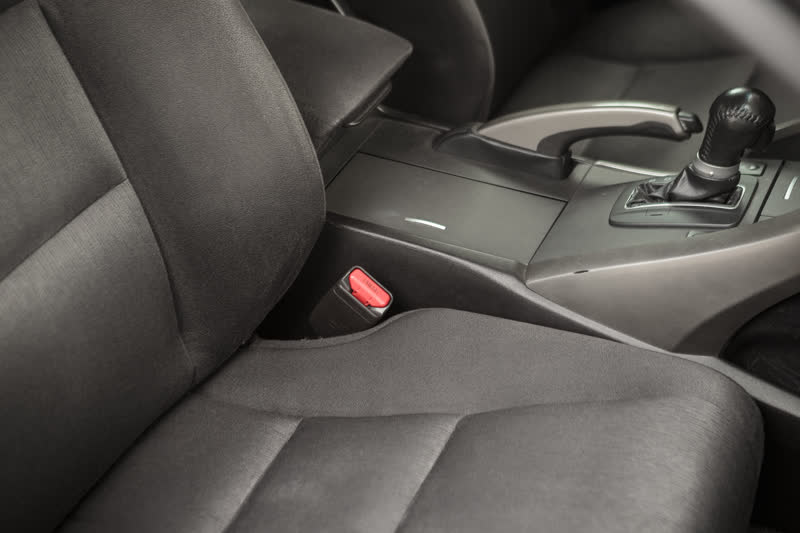
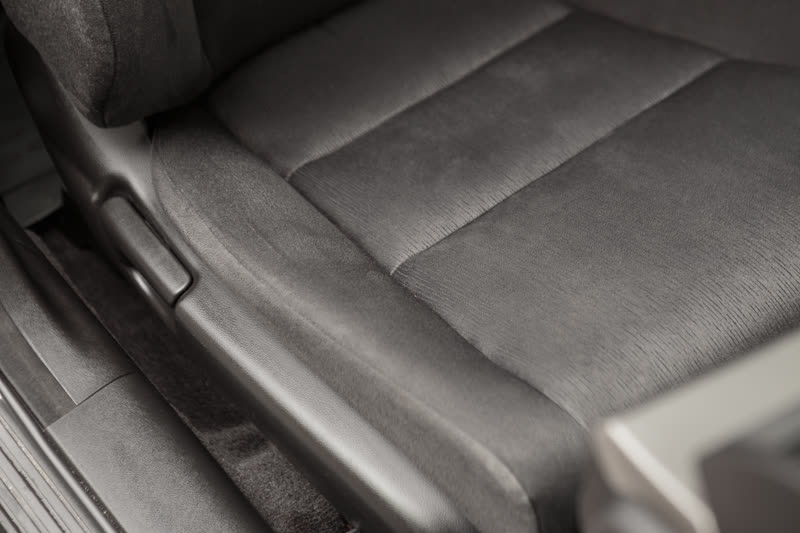
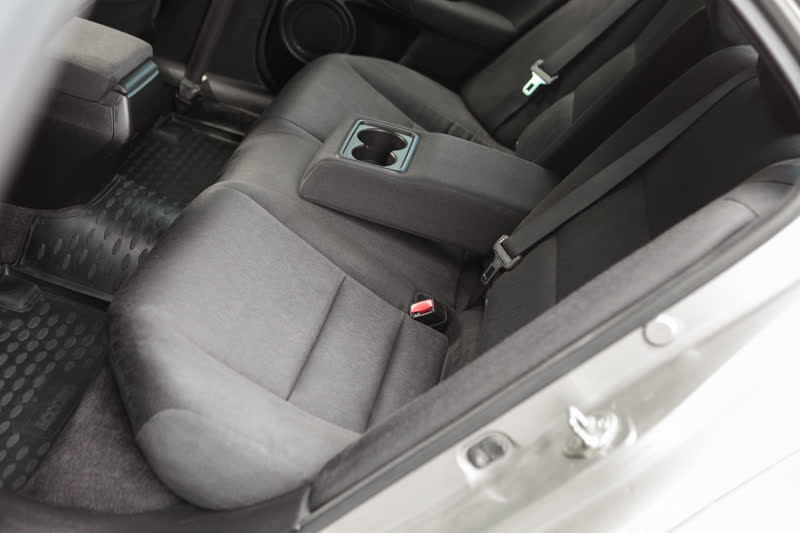
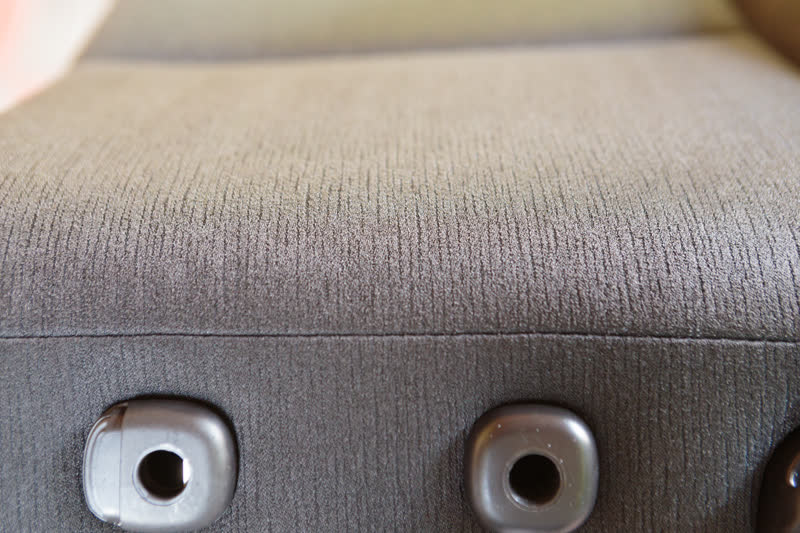
Interior cleaning with partial disassembly
Winter is coming to an end, and it’s the perfect time to talk about cleaning before winter storage. Over a year ago, the car transitioned from a daily commuter to a weekend vehicle. It used to run over 1500 km per month and more than 50 trips, whereas now it barely manages 250 km in a month.
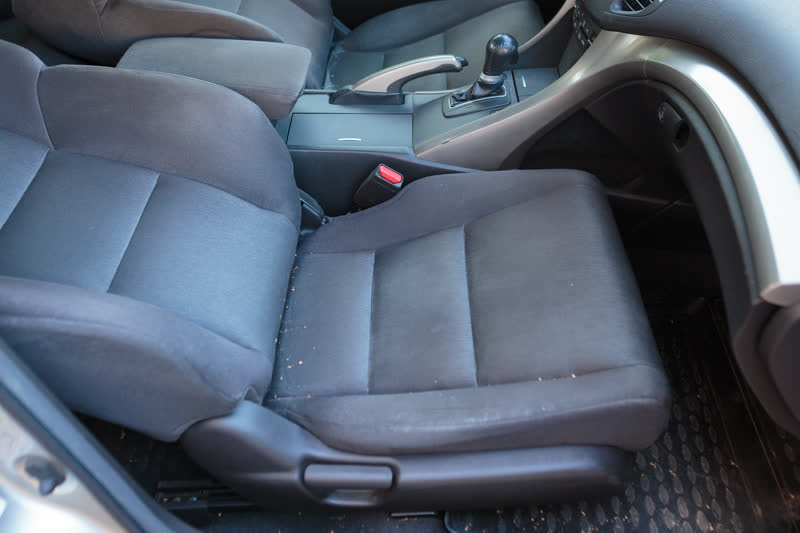
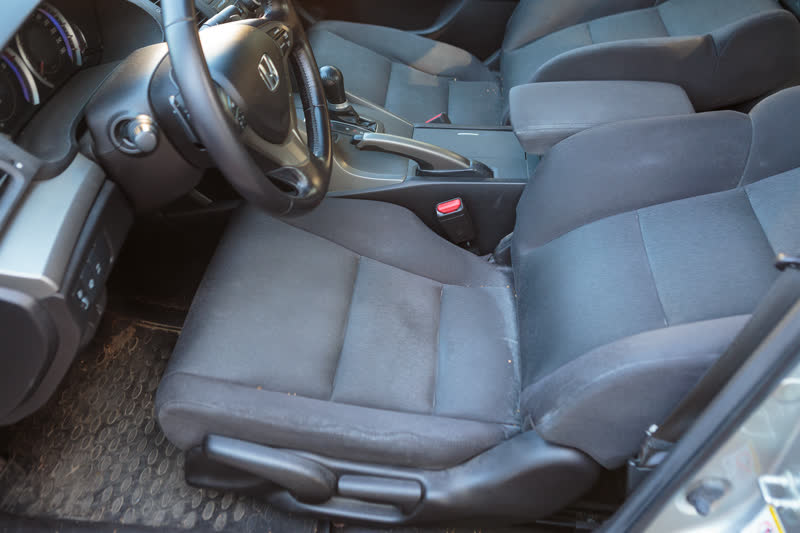
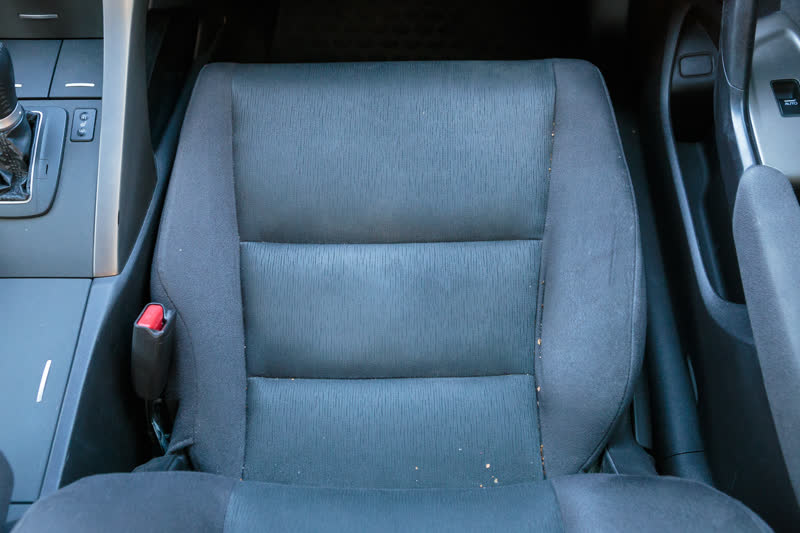
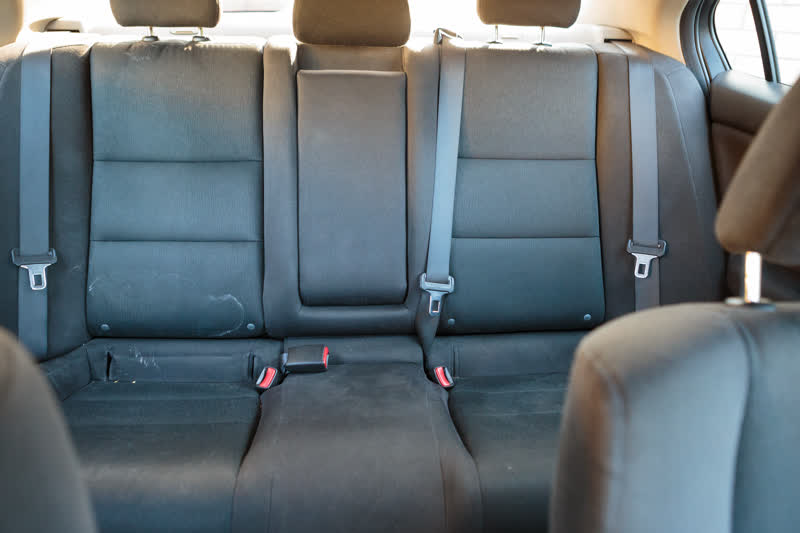
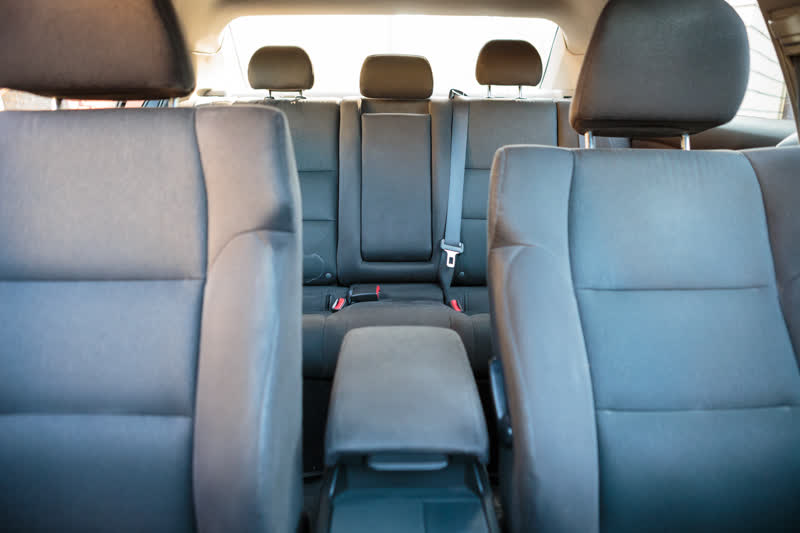
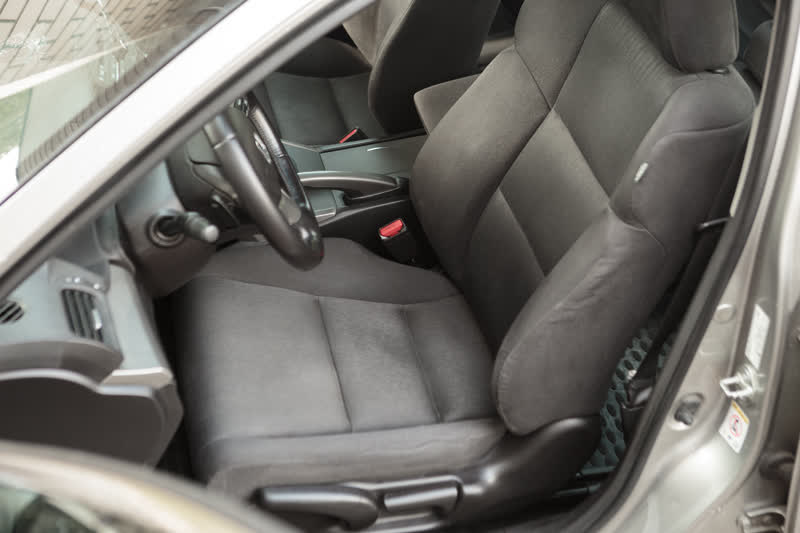
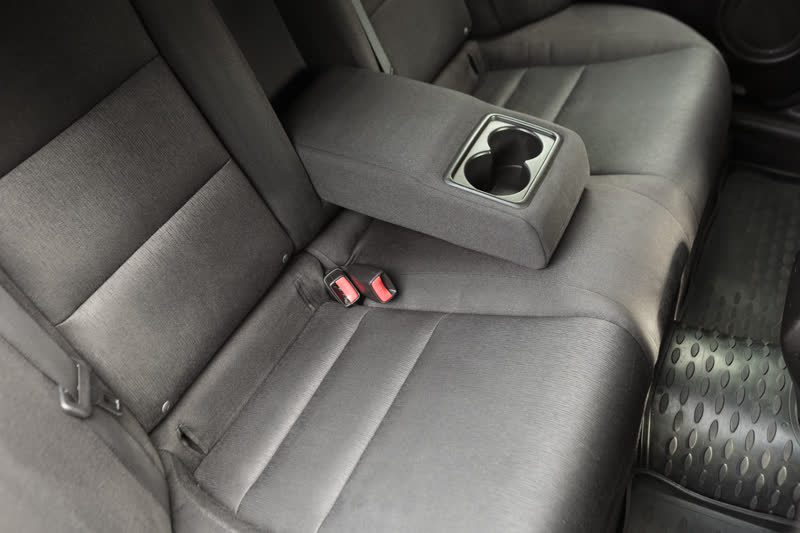
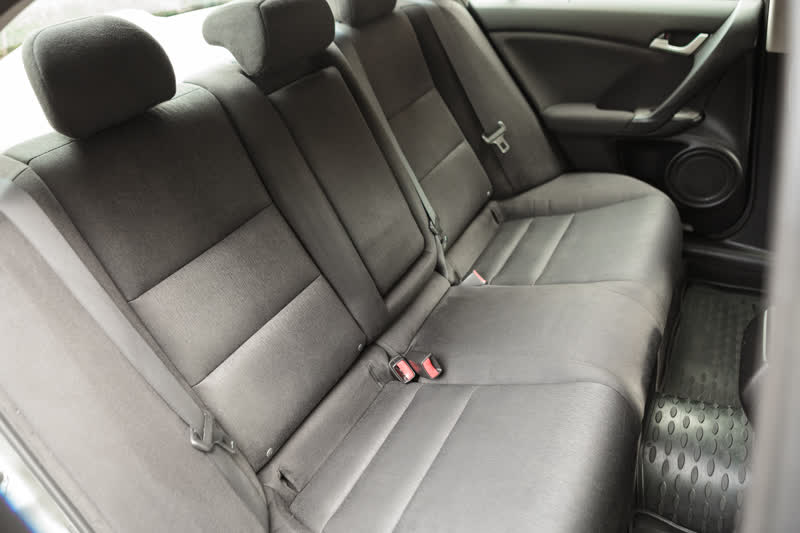
This record might not be very interesting to owners of leather interiors since the main focus was cleaning fabric seats.
- Start with a dry vacuum cleaning at minimal power (450 W) to reduce dust and avoid damaging the dry fabric
- Apply dry foam for two to three minutes without any mechanical agitation
- Vacuum again on minimal power to remove surface contaminants and soften the fabric
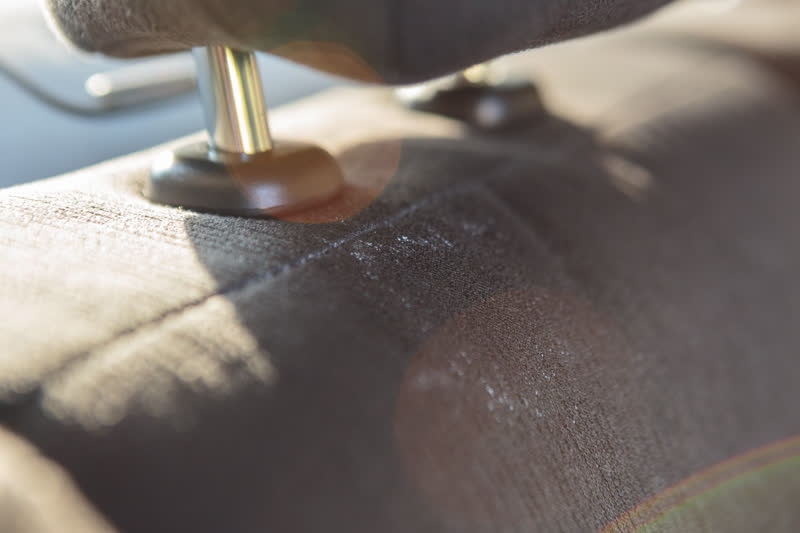
- Apply dry foam followed by mechanical cleaning with a brush having soft bristles. Do not press too hard. Brush along the grain if one is visible, otherwise use circular motions
- Vacuum on medium power (900 W)
- Spray water and immediately vacuum on high power (1200 W), reducing the power if necessary
Repeat the last step until no white foam appears when the vacuum touches various sections. Usually, this is done 2–3 times.
It’s important to apply the foam and water in small sections so that the cleaner does not soak too deeply into the fabric.
Maximum power (1400 W) was avoided to prevent overstretching the fabric and damaging the seams — a lesson learned from another car. In general, experience shows that lower power at a slower speed is better, giving time for the moisture from within the fabric’s pores to reach the surface.
A brush from the previous Soft99 interior cleaning kit was used. Its handle is comfortable, and its size and stiffness are just right.
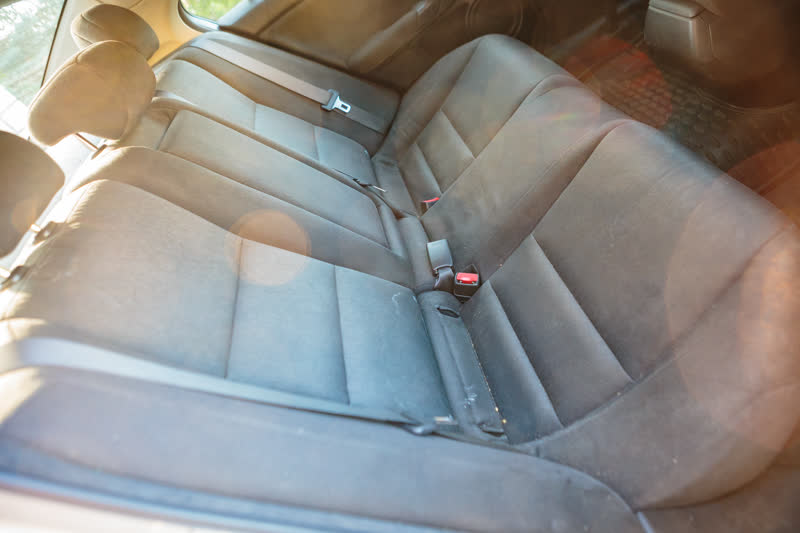
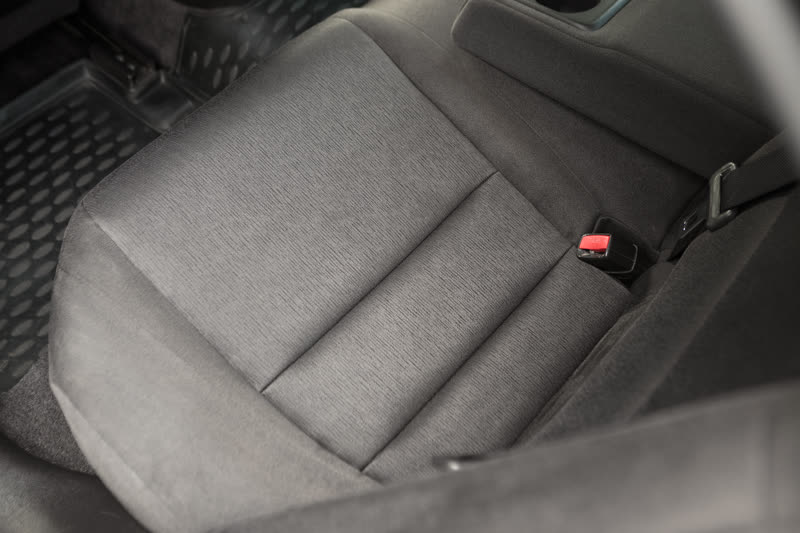
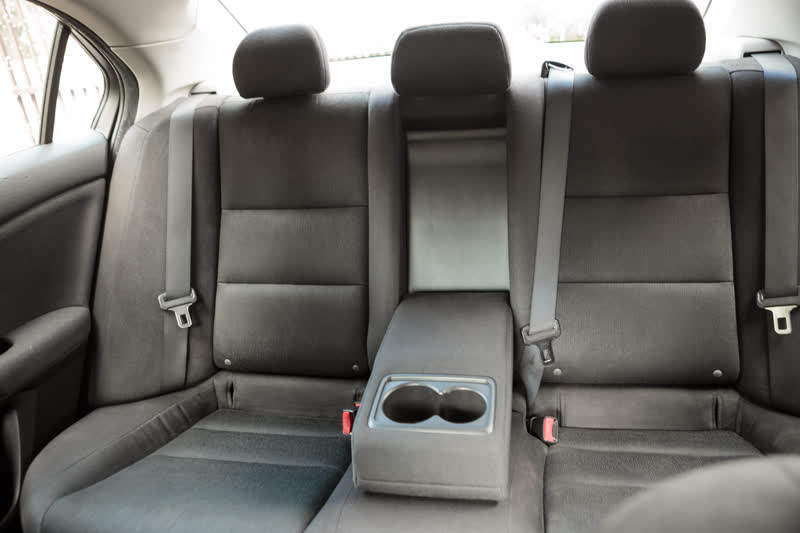
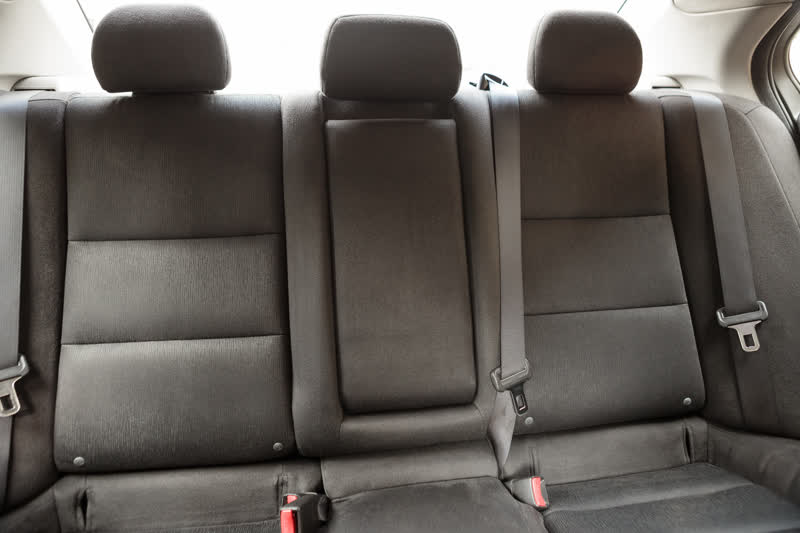
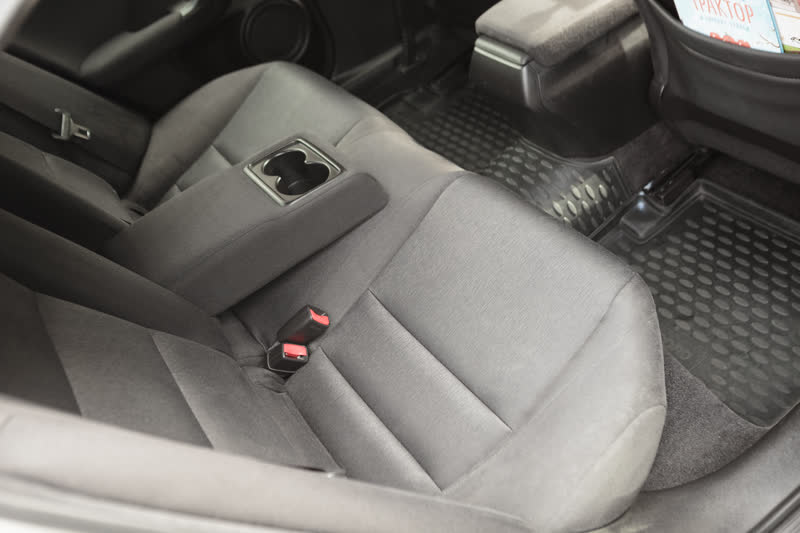
After cleaning the front seats, the water was slightly muddy. In contrast, it seems the rear row had hardly ever been cleaned.
I did not use the Tornador tool for carpet cleaning in order to avoid having to scrub the entire interior — including the headliner. Covering all surfaces was also not an appealing option.
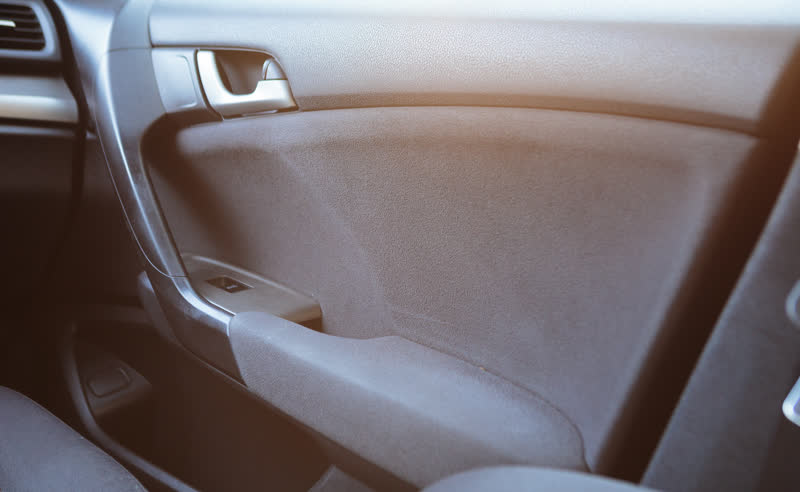
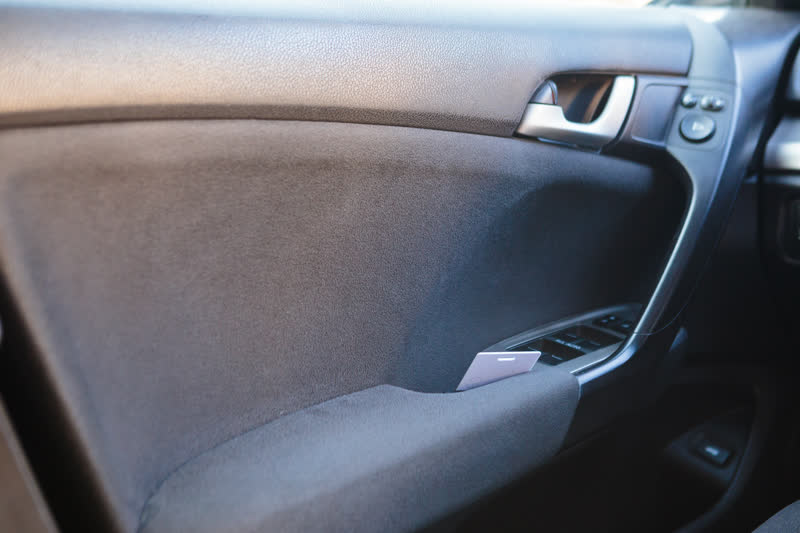
However, it works excellently for cleaning the door panels.


-
Carpets: cleaned with Koch Merz diluted at 1:20
-
Seats: Koch Pol Star diluted at 1:15
-
Rubber mats and pedals: Koch Gummifix
-
Plastic surfaces: Koch Top Star
-
Steering wheel: clean warm water
-
Windows: Koch Glass Star and Soft99 Glaco
-
Nitrile Gloves: Wurth p-p 8 (0899414108)
-
Respirator: Wurth FFP2 NR D Light (0899121106)
-
Glasses: Wurth Castor (0899107016)
-
Noise-cancelling headphones: Wurth (0899300361)
At the attachment points of the components, where wear and scratches were noticeable, rubber washers were inserted and/or a polyurethane film (Daytona, 190 µm) was applied.


The plastic was cleaned and dried before assembling the interior.
The entire process took four evenings — including disassembly, cleaning, drying, and reassembly.


Mileage: 249 433 km


